덤프 파일을 만드는 방법
:::정보
본 문서는 시스템 수준에서 기기를 보호하는 다기능 광고 차단기인 Windows용 AdGuard에 대해 다룹니다. To see how it works, download the AdGuard app.
:::
Data and files provided in dump files are processed in accordance with the AdGuard Privacy Policy.
If you experience an issue while using AdGuard, the support team may ask you to provide a dump file. This file helps developers see what processes were running in the app at the time and identify the cause of the problem.
Follow these steps to create a dump file:
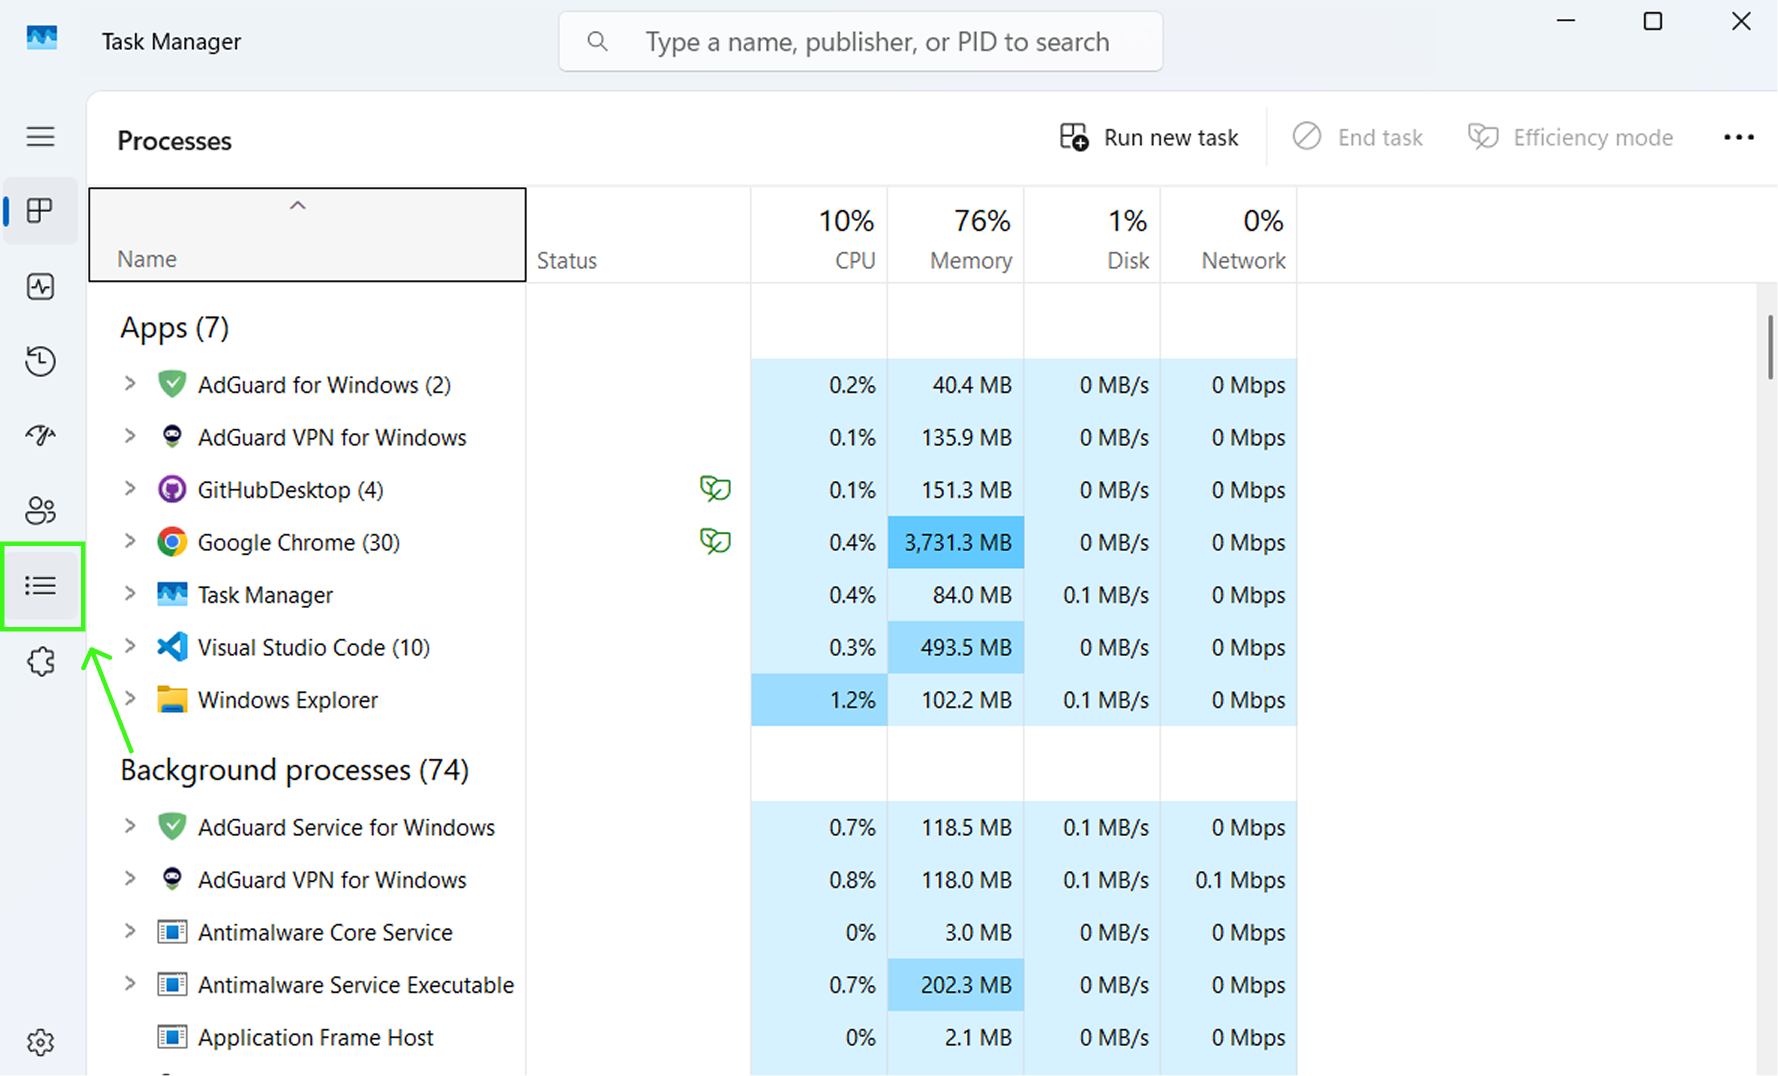
Press Ctrl + Shift + Esc to open Task Manager.
In the left sidebar, click Details.
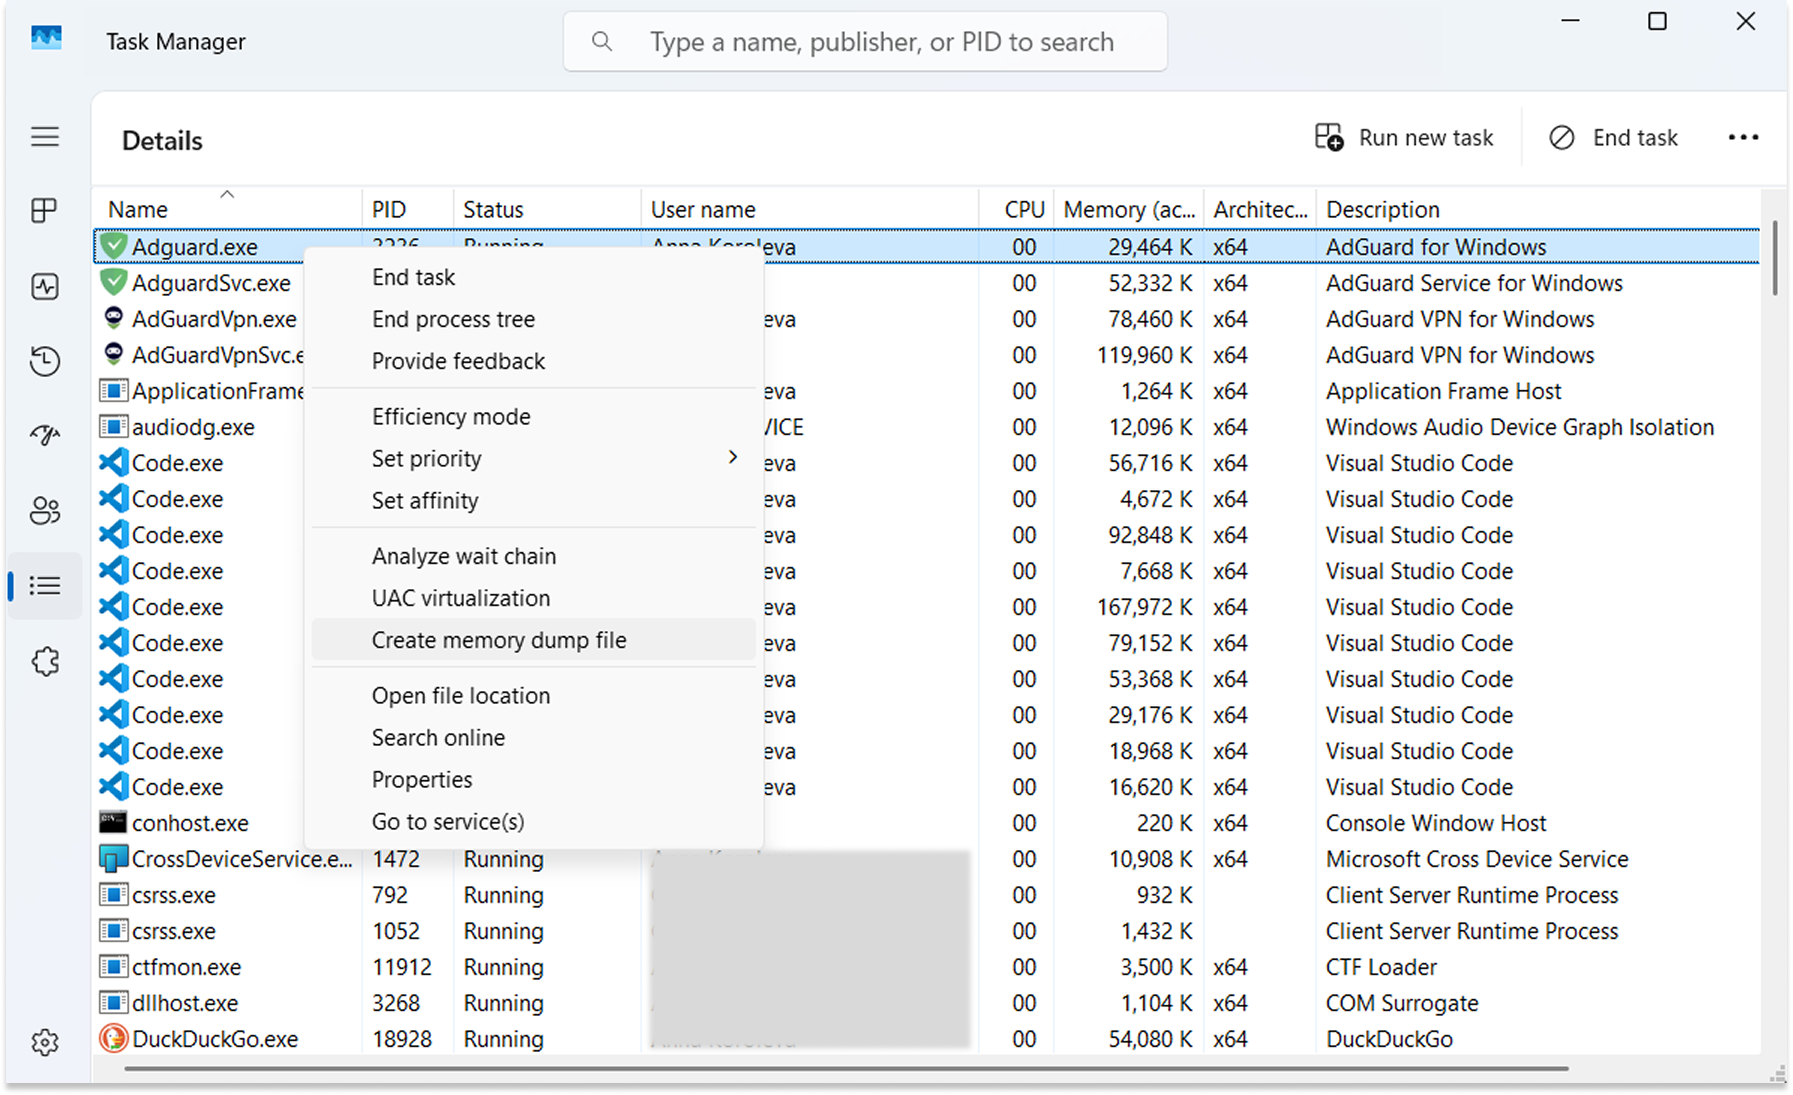
Right-click the process you want to create a dump file for. In the drop-down menu, click Create memory dump file.
Once the dump file is created, you’ll be prompted to open the folder where it’s saved. If not, you can find it in the %tmp% folder.
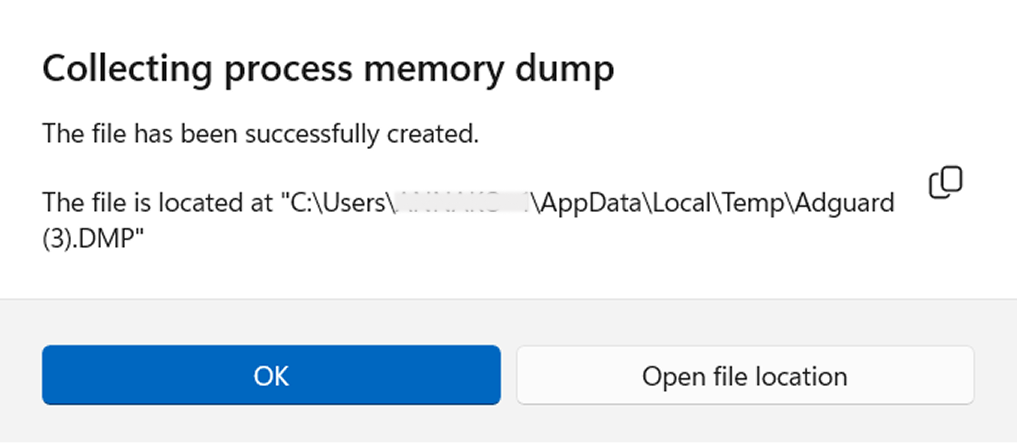
The created dump file (.DMP) will have the same name as the process you selected.
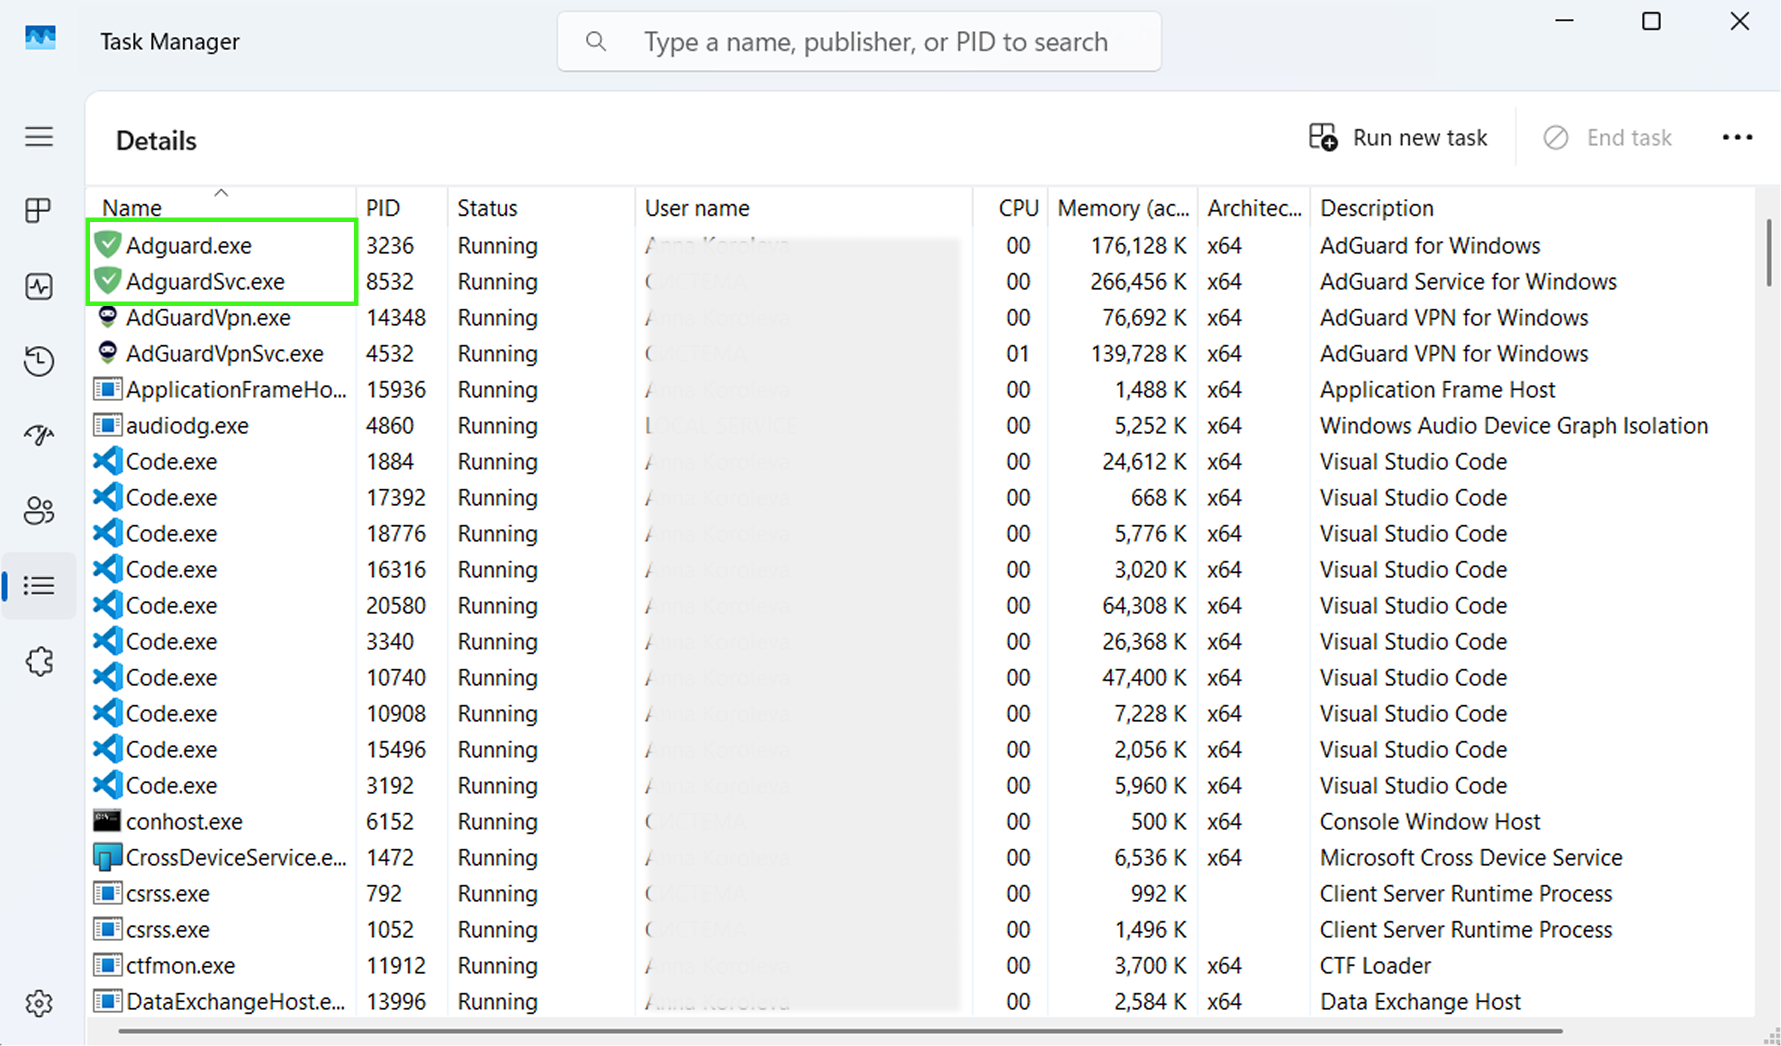
AdGuard for Windows runs two processes: Adguard.exe and AdguardSvc.exe. You’ll need to create a separate dump file for each one.
Since dump files can be large, please compress them into an archive before sending them to support. Also, include the AdGuard logs to help us diagnose the issue more effectively. Instructions for collecting logs.
Collecting wfpdiag.cab file
Our support team may request a wfpdiag.cab file, along with a minidump file, to analyze system logs more thoroughly and diagnose issues. To collect the file, please follow these steps:
AdGuard 보호를 활성화합니다.
Click Start and type
cmdto open Command PromptRight-click Command Prompt and choose Run as administrator
noteA wfpdiag.cab file is created in your current directory. You can change the location by typing
cd <folder_name>.
:::
To start logging, enter the following command:
netsh wfp capture startVisit any website to route traffic through AdGuard and log the filtering process
To stop logging, enter
netsh wfp capture stop