System-wide protection
Starting with version 3.0, AdGuard Mini for Mac introduces System-wide protection, a feature that blocks ads and trackers not just in Safari, but across other apps on your Mac.
The feature is available for users with an AdGuard license. You can purchase the license right away or click Try for free in Advanced protection to start a 14-day free trial.
How it works
System-wide protection is built on Apple’s URL filter, a system filtering API used for system-wide traffic filtering. Here’s how it works.
First, macOS checks a URL against a bloom filter — a prefilter stored on your Mac that updates in the background. Most addresses are cleared locally, with no network request for the check itself.
If the prefilter finds a possible match, macOS asks AdGuard’s server for a verdict using Private Information Retrieval (PIR). This method lets your Mac request data from the server without revealing which exact address it asked about. The request can’t be linked to your account or device. If the server doesn’t respond, the page loads normally.
You can read a detailed analysis of Apple’s approach to system-wide filtering in our blog.
How to turn on System-wide protection
You’ll find System-wide protection under Advanced protection in the AdGuard Mini app. To enable it, toggle the switch on.
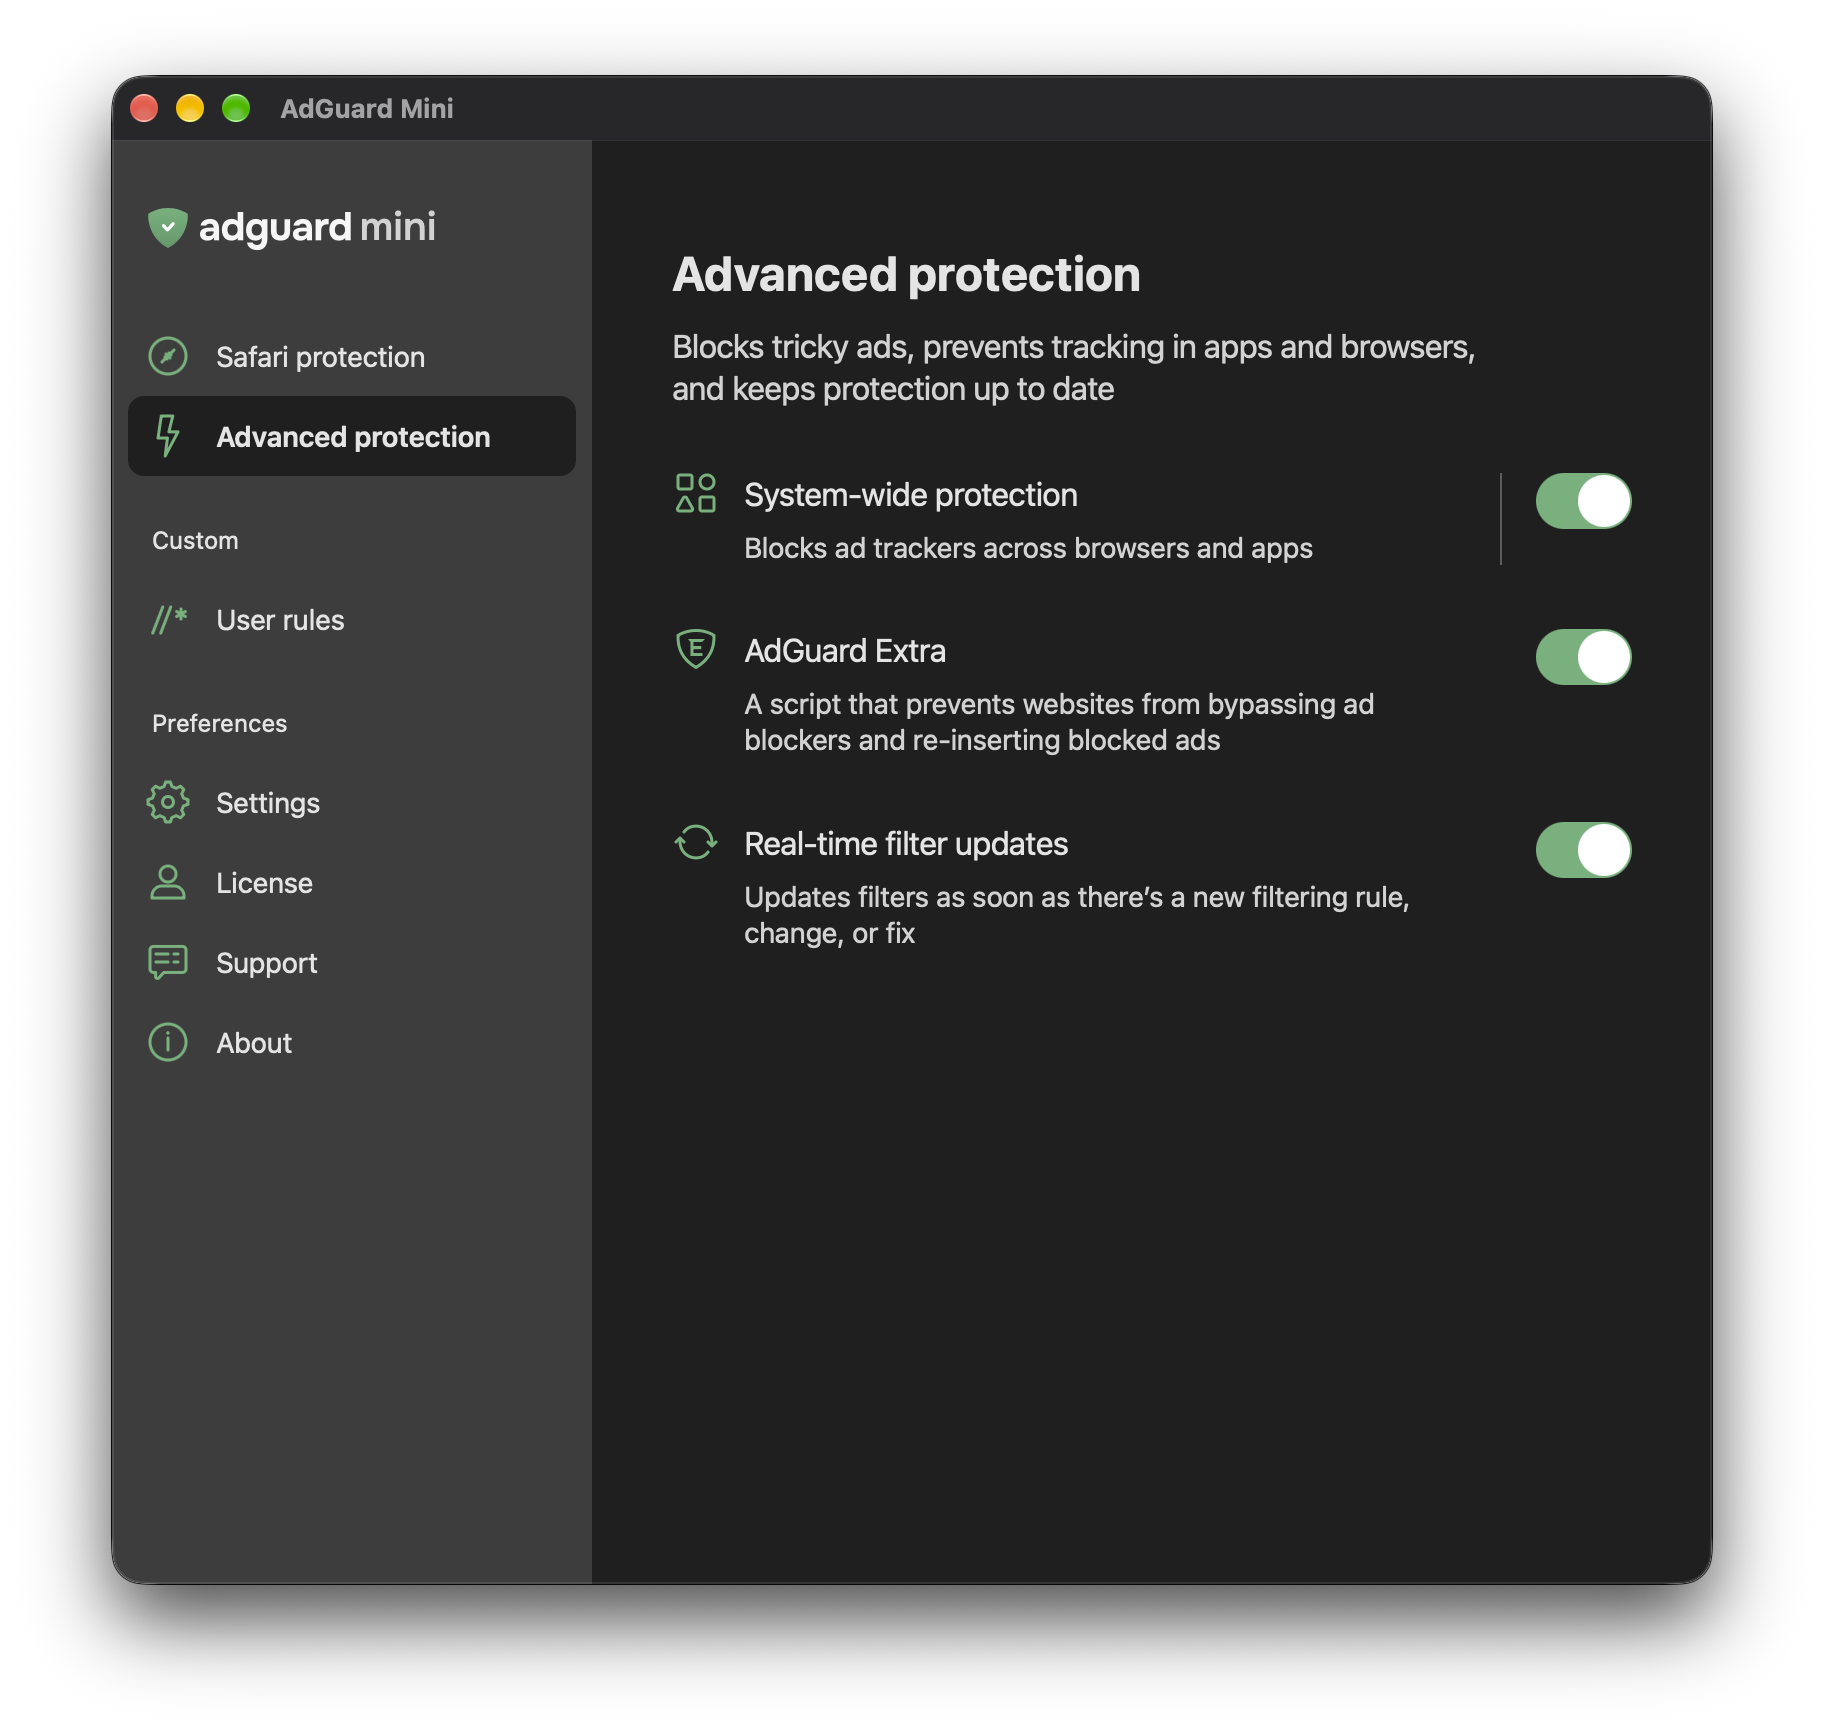
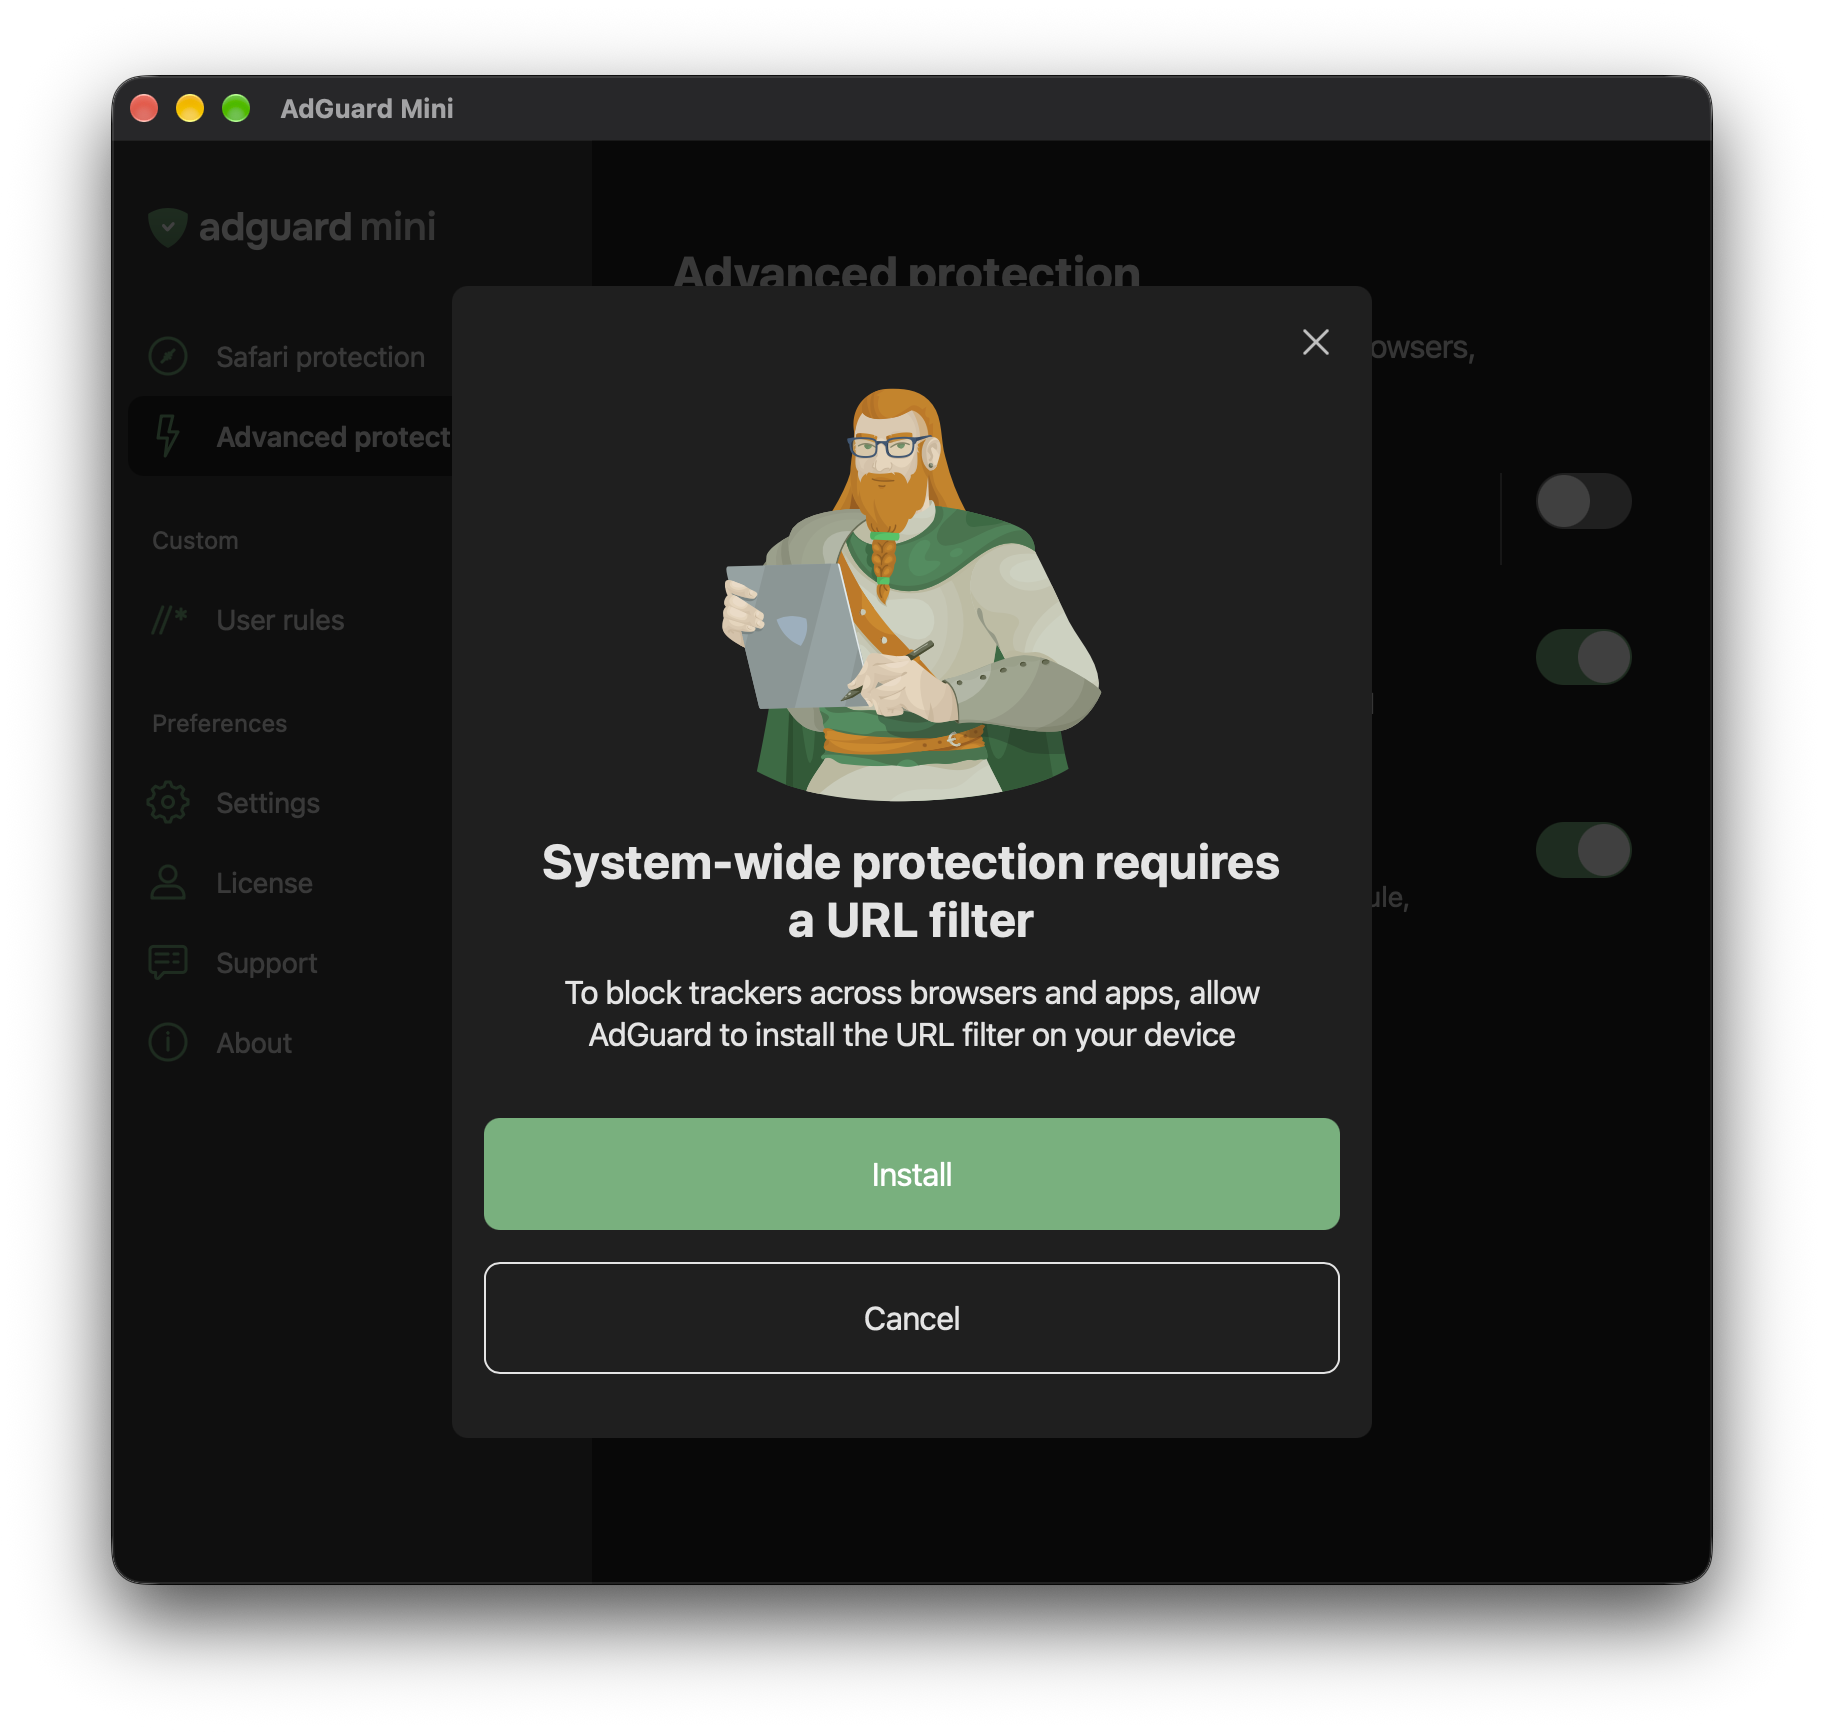
When you first enable System-wide protection, you’ll get a request to install the URL filter on your computer. Click Install, after which a system message will appear requesting to add filter configurations. This is standard macOS behavior. AdGuard does not see or store any of this data.
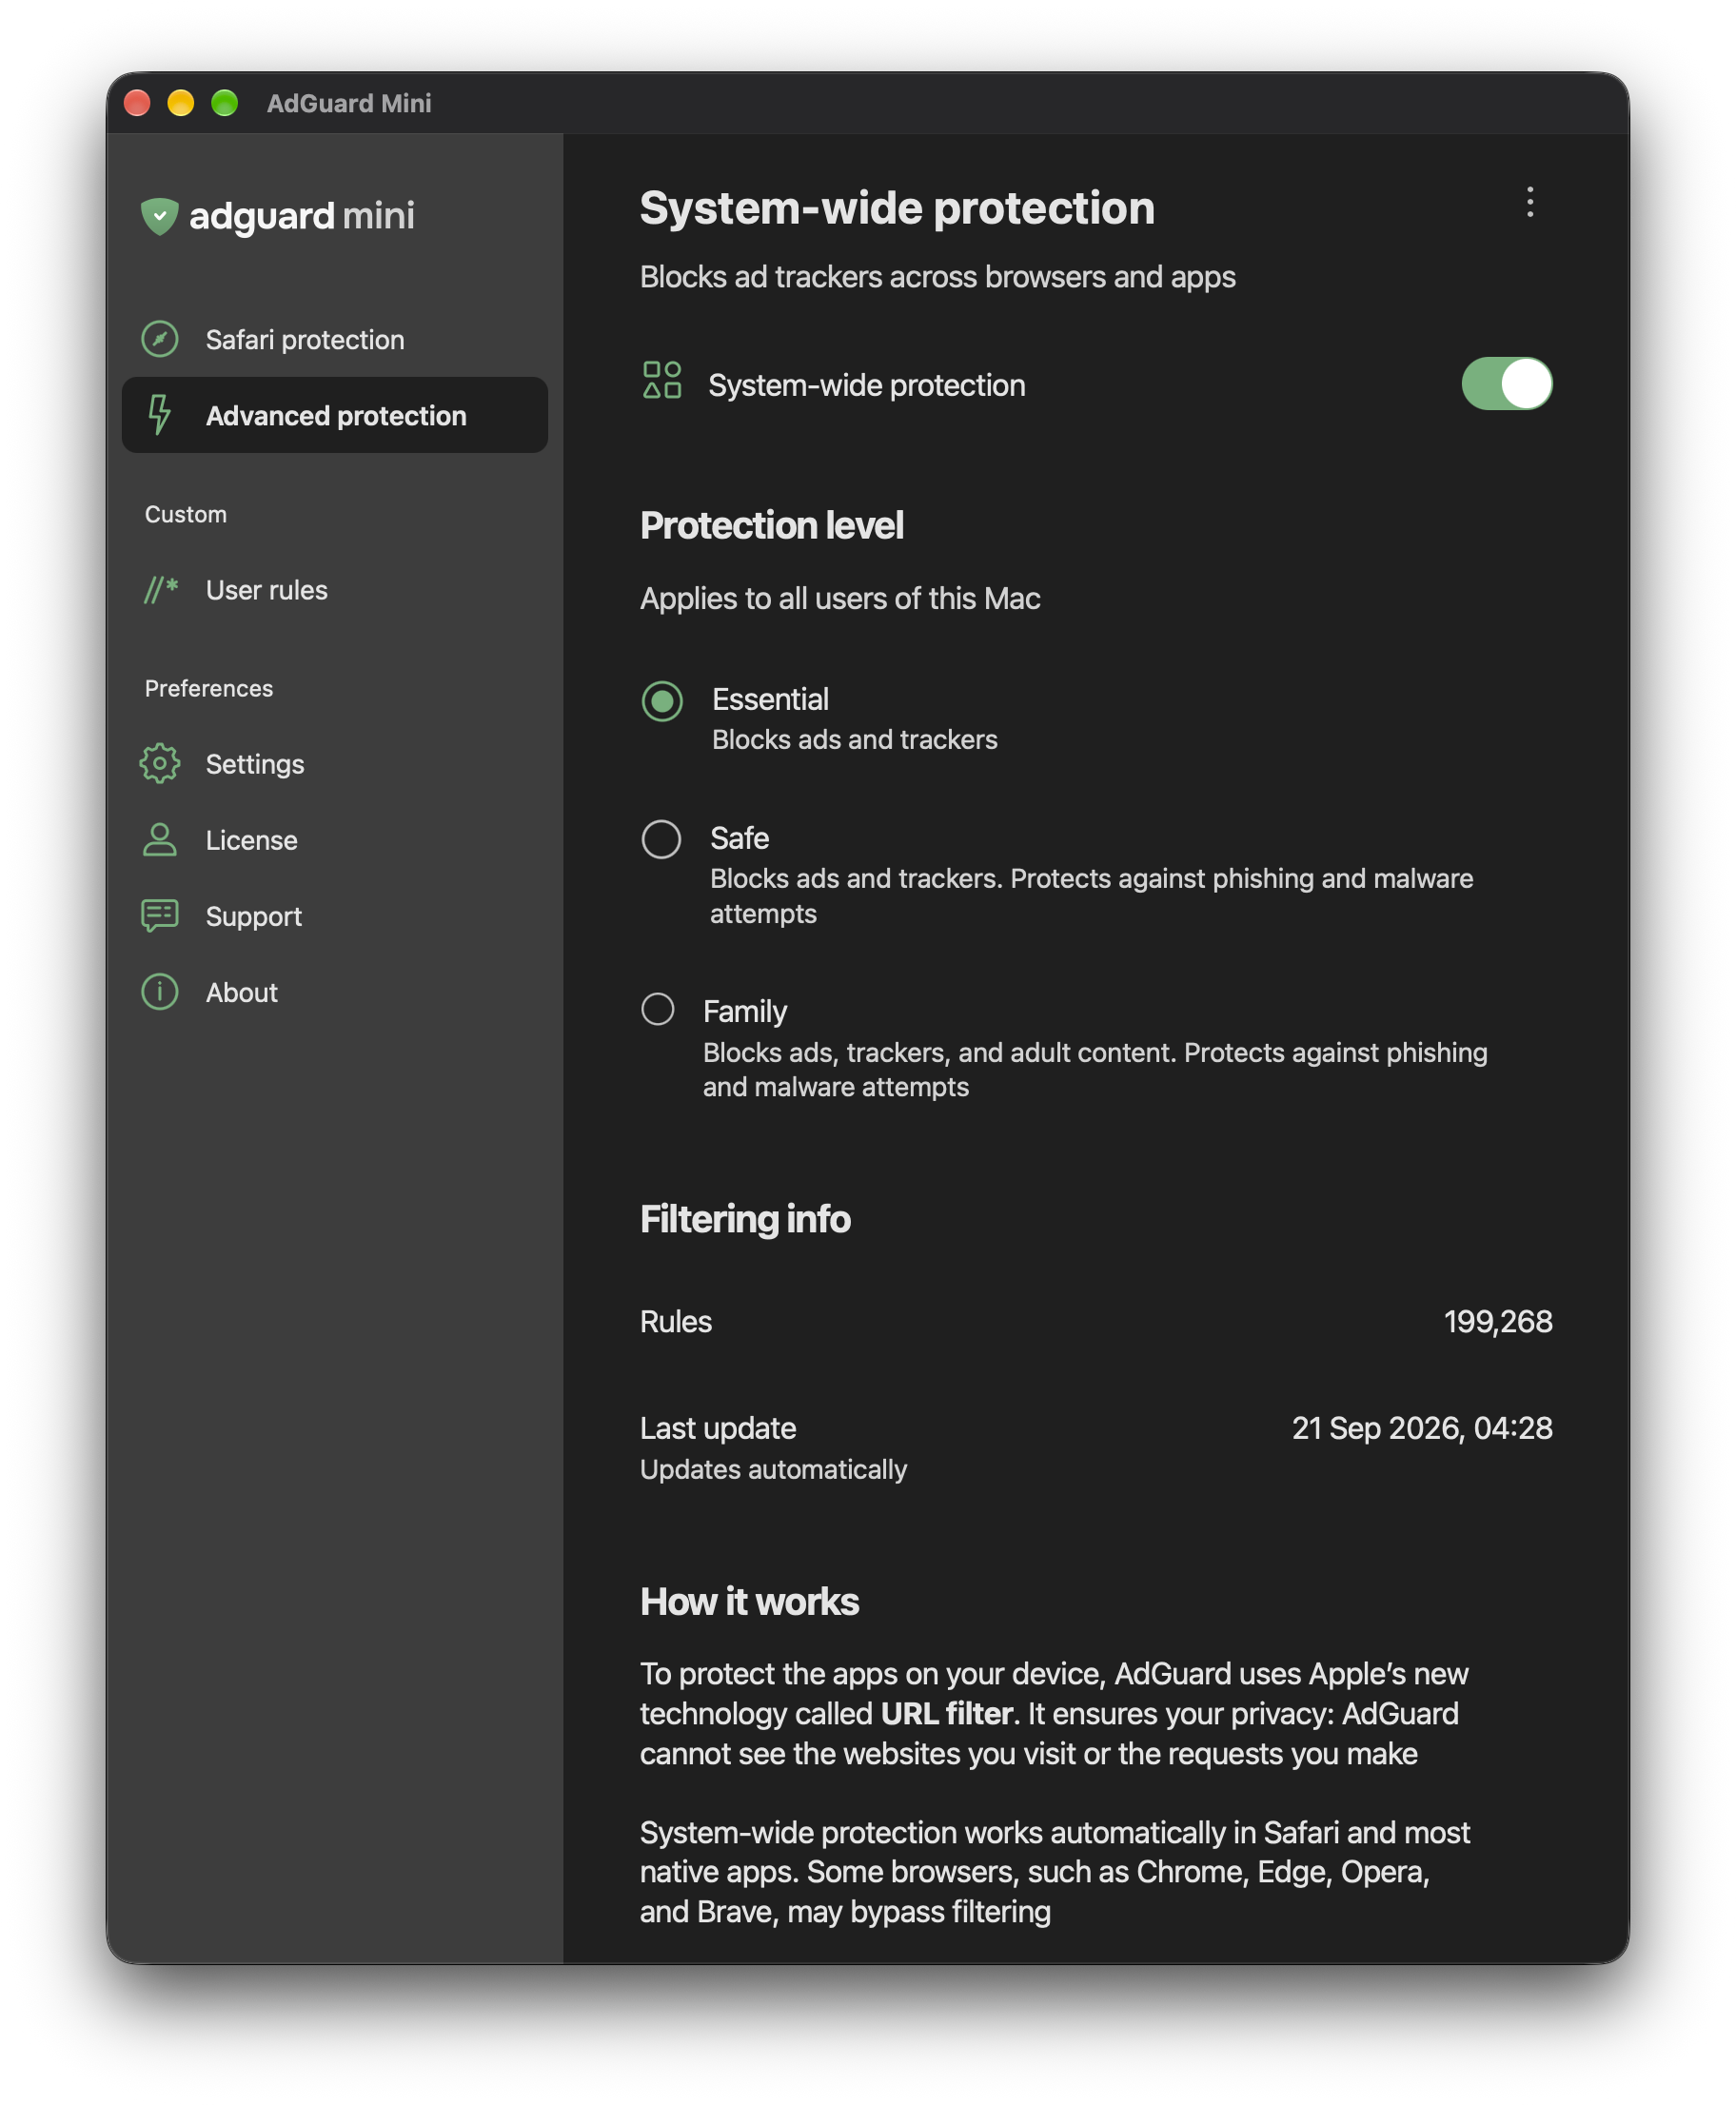
After you install the URL filter, System-wide protection will remain on by default. If you want it off, toggle off the System-wide protection switch in Advanced protection.
You can also click the context menu in the top right corner (⋮) and select Remove URL Filter. If you want to reset the filter without deleting it to troubleshoot connection issues, choose Reset Cache.
It’s also possible to disable the URL filter in your Mac’s System Settings → Network → VPN & Filters → Filters & Proxies. Change Enabled to Disabled in the Status menu. AdGuard Mini will then switch off System-wide protection automatically.
Protection levels
There are three levels of protection you can choose from. Essential is selected by default.
- Essential — blocks ads and trackers
- Safe — blocks ads, trackers, phishing, and malware
- Family — blocks ads, trackers, phishing, malware, and adult content
Troubleshooting
System-wide protection doesn’t work with every app or browser
Coverage depends on how each app handles network requests, so some apps may not be filtered. This is a limitation on Apple’s side.
Chromium-based browsers, such as Chrome, Edge, Opera, and Brave, use their own networking code instead of Apple’s frameworks, so the URL filter can’t check their requests.
System-wide protection doesn’t turn on
- Your Mac runs an older version of macOS. Apple’s URL filter needs macOS 26 Tahoe or later. On earlier versions, the setting is disabled and the app asks you to Update to macOS Tahoe 26 or later.
- Your account isn’t supported. System-wide protection only works with the first user account created on a Mac. If your account was added later, the setting is disabled and shows Not supported on this Mac account. See Can I change my Mac account’s user ID? below.
- You’re on the free version. To use System-wide protection, purchase an AdGuard license or click Try for free in Advanced protection to start a 14-day free trial.
Can I change my Mac account’s user ID?
Yes. System-wide protection only works with the first user account created on a Mac with the user ID (UID) of 501. If your Mac has more than one account, or if you migrated your account from an older Mac, your UID might be different. Follow the steps below to check your UID and, if needed, free up 501 and assign it to your account.
This is an advanced, risky operation. Only do this if you have no other option. Freeing up UID 501 means deleting an existing account and creating a new one from Terminal. If something goes wrong, this can cause permanent data loss. Back up all the data on your Mac before proceeding.
-
Check your current UID. Open Terminal, type
id -u, and press Return. If the result is 501, your account already has the right UID. You don’t need to do anything else. -
Find out who has UID 501. If your UID is not 501, run this command:
dscacheutil -q user -a uid 501 | grep -E '^(name|uid|gecos):'This shows the username, UID, and full name of that account. Make sure you don’t need any files from it, or back them up before continuing.
-
Delete the account with UID 501. While logged in to your own admin account, open System Settings → Users & Groups, select the account from step 2, and delete it. When macOS asks what to do with its home folder, choose Save the home folder in a disk image — this keeps the account’s files in case you need them later.
-
Create a new account with UID 501. Run the following command, replacing
usernameandName Surnamewith the details you want:sudo sysadminctl -addUser username \-fullName "Name Surname" \-password - \-admin \-UID 501-password -makes Terminal prompt you for the password interactively;-admingives the new account administrator rights. -
Verify the change. Log in to the new account, then check the UID again: open Terminal, type
id -u, and press Return. The result should now be 501.